DIY Hibachi Grill Setup
Are you also one of those people who fancy grilled food and love eating at a Hibachi restaurant but don’t have the time or resources to do so? Or are there no restaurants near you to satisfy your cravings? Don’t worry, we got you!
We’ll give you some tips and guidelines to create your very own hibachi-style grilling station at home! But first, let's know what a Hibachi grill is.
What is a Hibachi Grill?
Basically, a Hibachi grill is a type of heating device used for traditional and modern Japanese cuisine. It is often associated with Yakitori since many Yakitoris are cooked using a Hibachi grill.
And just a fun fact, Hibachi grill means "fire bowl" in Japanese and is great to use for grilling a variety of meat and vegetables.
Tips for DIY Hibachi Grill Setup
A Hibachi grill can be pricey and some people might not be able to afford it. But do not fret my friend, we got you! We'll give you quick tips on how to do your own Hibachi grill setup so you can have an amazing Hibachi party at home!
But first, get the right materials. Here's a list of what you will need:
2 Square Planters (different sizes)
Aluminum Sheet
Charcoal
Grill Top (optional)
Play Sand
Once you have these materials, proceed in making your Hibachi grill setup.
1. Set up your Hibachi grill.
First, get your 2 different sizes of square planters (use terra cotta ceramic that is unglazed). You will then get your aluminum sheet and cut it into a size enough to fit on the bigger planter. Fill it up with sand of about an inch or two.
Now, place the smaller planter on top of the bigger one, then also put in some sand so your charcoal won’t directly touch your planter. You can also add some sand between your two planters to act as a barrier to the heat. After this step, just add your charcoal and you are basically done.
Just make sure to use charcoal that is high heat and low smoke. Or, to make your hibachi experience better, use binchotan as your charcoal as it is made from oak, smokes less, and is odorless. Though a bit pricey, using this high-carbon charcoal will not mess up your food’s flavor and aroma, which will make your eating session better!
2. Prepare your meat, vegetables, and sauces.
Of course, your Hibachi party won’t be complete without the food. Prep your choice of meat, vegetables, and sauces. We suggest cutting your ingredients a bit smaller since a DIY Hibachi grill is small and is good for indoor use.
You can marinade your meat before grilling them, or have it plain, whatever you prefer. Now, put your meat and vegetables on a skewer if you want and grill them over direct heat from the charcoal. But, you can always use a grill top. It’s all about your preferences.
3. Set up your indoor or outdoor table.
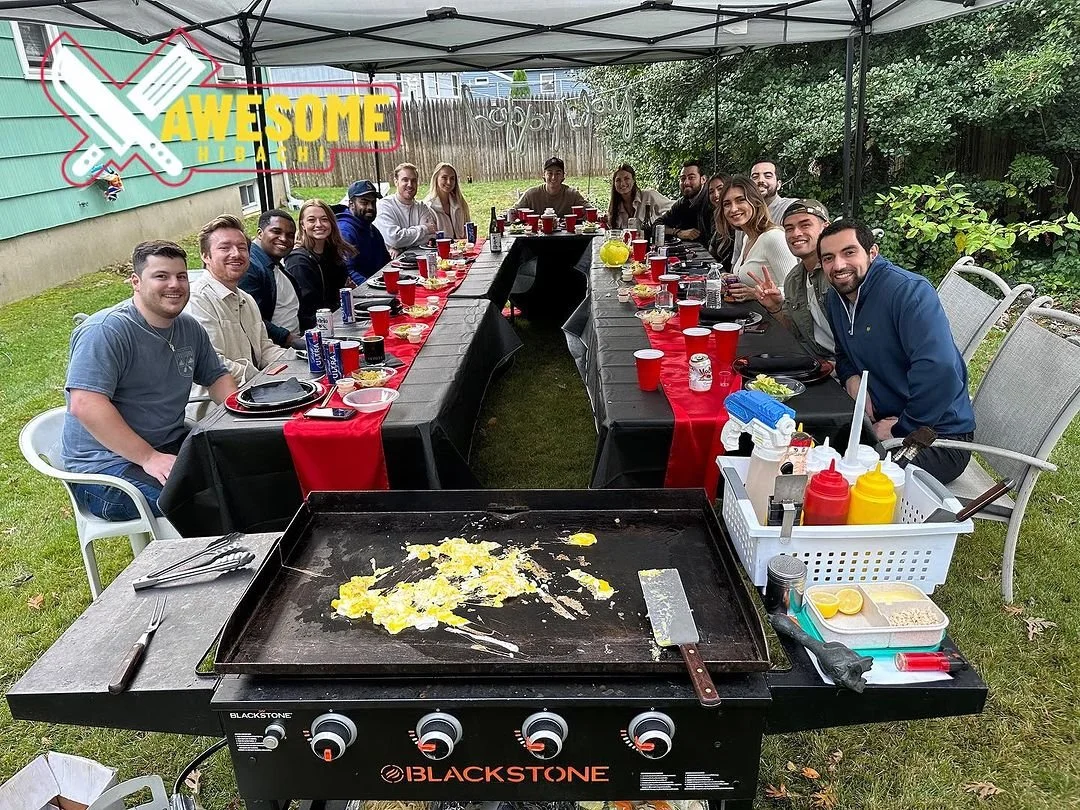
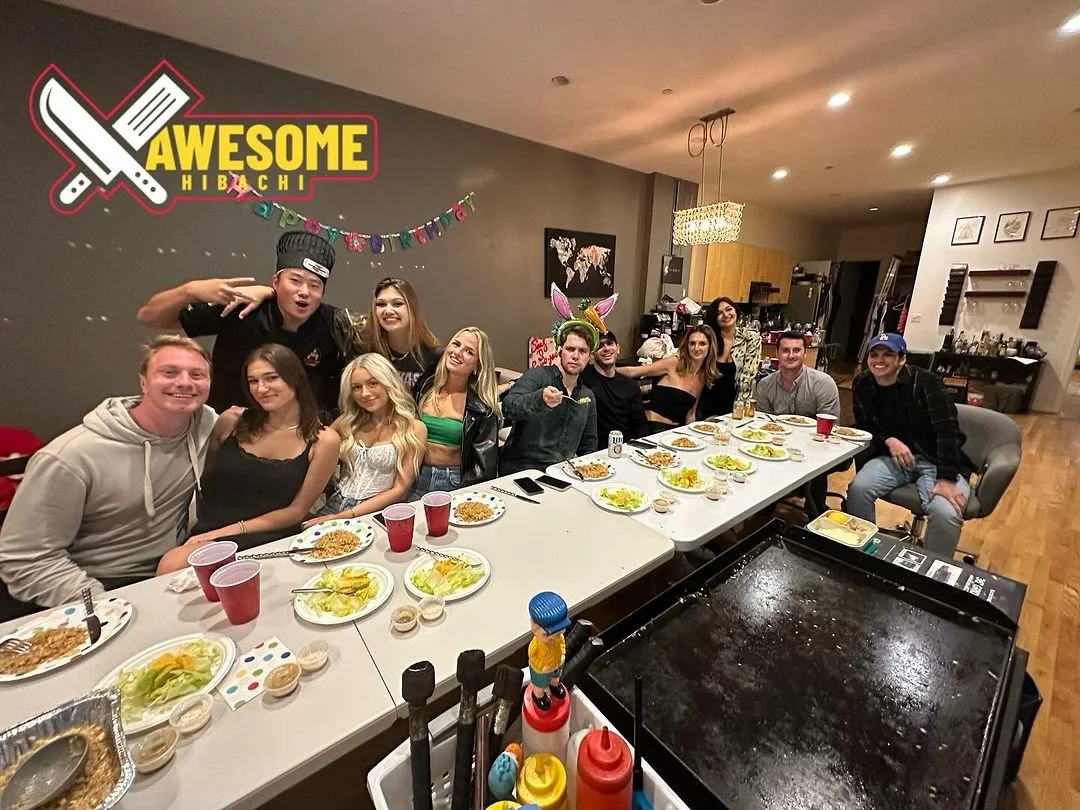
Now that you have a lovely DIY Hibachi grill, what’s left to do is set up your table and place your grill on top. Place your ingredients and sauces as well, and give it a lovely design. You can have a Hibachi outdoor party or a Hibachi dinner party indoors.
No Time for DIY? Hire a Hibachi Chef At home
If you find having a DIY Hibachi grill time-consuming, you can always hire an in home Hibachi chef like Awesome Hibachi. We offer Hibachi catering services where we will go to your place, and cook delicious food for you. We have a variety of food selections you can choose from, and we can cater to special requests depending on what kind.
So, want a cool backyard Hibachi party? Hire a chef today from Awesome Hibachi. Check out the locations we cater to, choose a chef you’d like to hire for your Hibachi grill party, and click on Book Now. You can also contact us here for any questions or requests you have. Call us now at 213-592-3608 and let’s plan that awesome Hibachi grill party!


